 Folk
FolkThis plan builds a basic slant-roof nest box sized for bluebirds, sized from a single board with no specialty tools required beyond a saw and drill. Swap the entrance hole diameter using our dimensions guide if you’re building for a different species — everything else about this plan stays the same.
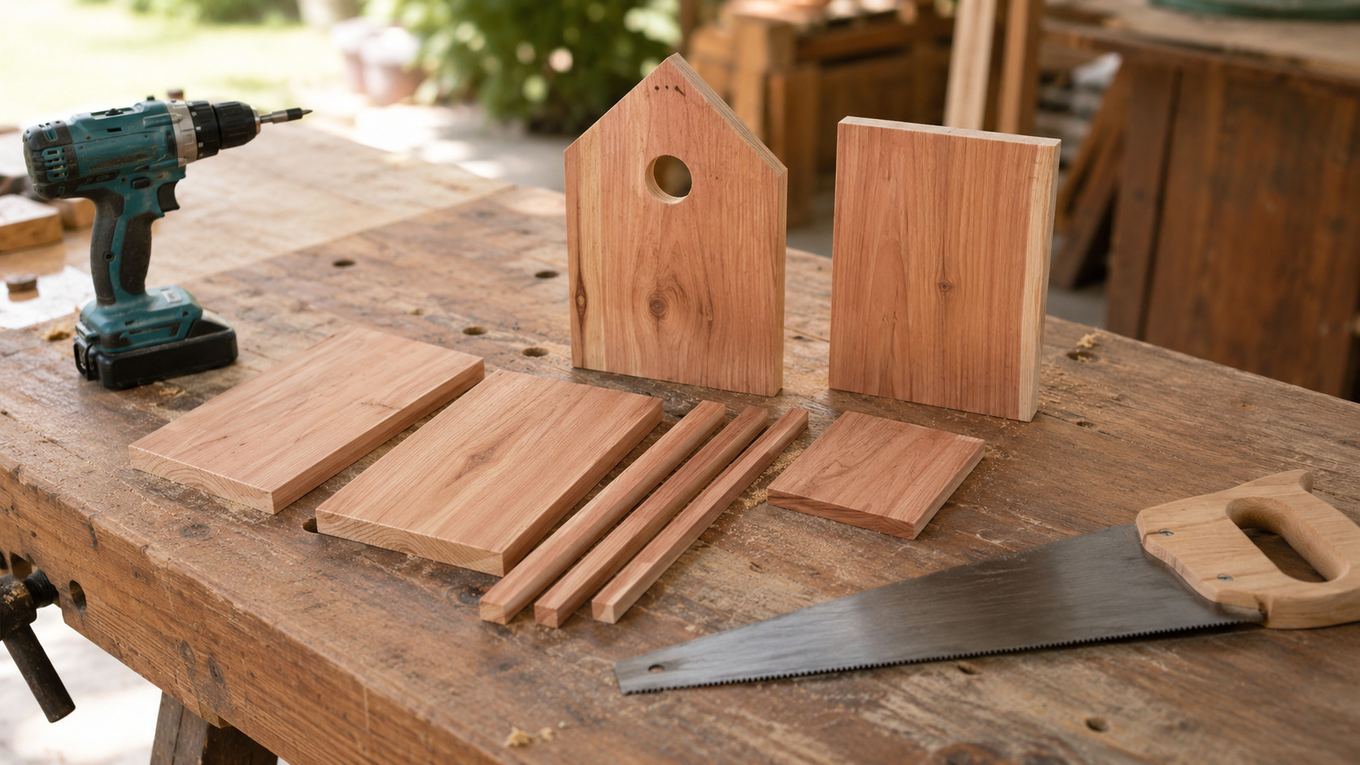
Materials and Tools
- One untreated cedar or pine 1×6 board, 6 feet long
- Rust-resistant deck screws (1¼ inch)
- One small hinge and a hook-and-eye latch, for the access panel
- A drill with a 1½-inch spade or hole-saw bit (swap size per target species)
- A saw (hand saw or circular saw both work fine for these straight cuts)
- Sandpaper for smoothing cut edges
Example: an untreated cedar board sized for this build
Cut List
| Piece | Dimensions | Quantity |
|---|---|---|
| Back panel | 5½ × 22 in | 1 |
| Front panel | 5½ × 9¼ in | 1 |
| Side panels | 4¾ × 9½ in, tapering to 8 in | 2 |
| Floor | 5 × 5 in | 1 |
| Roof | 6½ × 10¾ in | 1 |
The back panel runs longer than the box itself — the extra length at top and bottom is what you’ll use to mount it to a pole. The tapered side panels are what gives the roof its slight slant for water runoff.
Assembly Steps
- Drill the entrance hole in the front panel, centered side to side, with the bottom edge of the hole 6 inches up from where the floor will sit.
- Drill 3–4 small drainage holes in the floor piece, and clip its corners slightly so water can’t pool in a build-up of debris.
- Attach the two side panels to the back panel with screws, keeping the taller edge of each side toward the front.
- Attach the floor piece flush with the bottom of the sides and back, leaving the drainage holes and clipped corners exposed at the base.
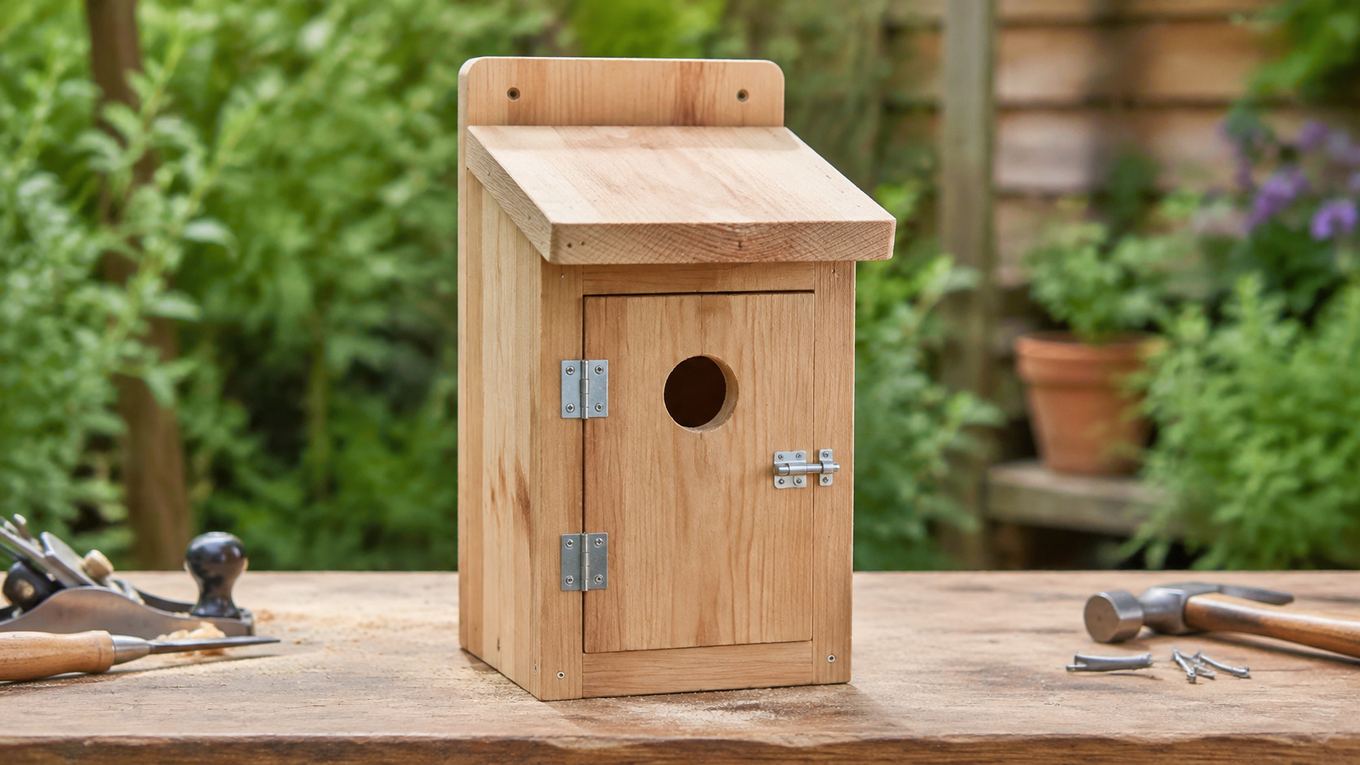
- Attach the front panel with a hinge on one edge rather than screwing it permanently in place — this becomes your cleaning access panel, closed with the hook-and-eye latch.
- Drill a couple of small ventilation gaps near the top of each side panel, just below where the roof will sit.
- Attach the roof to the back panel with screws, letting it overhang the front and sides slightly to shed rain away from the entrance and the hinged panel below it.
Finishing Touches
- Sand any rough or splintered edges, especially around the entrance hole, where birds will be gripping and squeezing through repeatedly
- Leave the interior unpainted and unfinished — smooth painted or varnished interior walls make it harder for nestlings to climb out when it’s time to fledge
- If you want to paint or seal the exterior, use a light color that reflects heat rather than a dark one that absorbs it
- Mount on a metal pole with a predator baffle rather than a tree — see our placement and predator safety guide for the full setup
Once it’s built and mounted, the same maintenance rules apply as any nest box — see our cleaning guide for keeping it usable season after season, and our pillar guide to birdhouses for how this build fits into the bigger picture.